---
template:
slug: signal-vmm
title: Signal Desktop on OpenBSD via vmm(4)
subtitle: X11 forwarding to the rescue
date: 2021-12-26
---
Early this year, I completely switched over to Signal and I'm fortunate enough
to have everyone that I talk to switch over as well. I know I wrote what some
might view as a [hit piece on Signal](/blog/signal), but I have immense respect
for the project and will continue to use it until an actually viable
alternative comes along.
Unfortunately, their desktop application isn't natively available for OpenBSD.
A solution that's worked decently enough for me is to run it via X11 forwarding
on a Ubuntu VM running on [vmm(4)](https://man.openbsd.org/vmm) -- OpenBSD's
built-in hypervisor.
## setting up the VM
I recommend reading the [FAQ on
Virtualization](https://www.openbsd.org/faq/faq16.html) first, but here's a
quick overview. Note that I'll be skipping the networking bits so I highly
recommend reading the FAQ to get your VM connected to the internet.
Create a disk image for the VM to install onto.
```sh
$ vmctl create -s 30G ubuntu.img
```
I'm using the Ubuntu 18.04 LTS
[mini.iso](archive.ubuntu.com/ubuntu/dists/bionic/main/installer-amd64/current/images/netboot/mini.iso).
I ran into issues with the 20.04 LTS ISO, but I think you should be able to
`dist-upgrade` from 18.04 without much trouble. Once you have the ISO
downloaded somewhere, edit `/etc/vm.conf`:
```conf
vm "ubuntu" {
memory 2G
cdrom "/path/to/mini.iso"
disk "/path/to/ubuntu.img"
interfaces 1
local interface tap
owner icy # this is your user
disable
}
```
Start and (optionally) enable [vmd(8)](https://man.openbsd.org/vmd).
```sh
$ doas rcctl -f start vmd
$ doas rcctl enable vmd
```
We can now boot into the VM, and interface via the serial console. This can be
done using [vmctl(8)](https://man.openbsd.org/vmctl).
```sh
$ vmctl start -c ubuntu # note -c for console
```
Hit Tab on the bootloader screen to edit the kernel parameters. We want to
force it to use the serial console for installation. This is done by adding
`console=ttyS0,115200` on the line shown. If there's a `quiet`, delete that and
add the above. You can then continue on with the installation -- install
OpenSSH, add your keys etc.
Once installed, remove the `cdrom` line from your `vm.conf` and start the VM
without the serial console.
```
$ vmctl start ubuntu
```
## installing and running Signal Desktop
SSH into the VM with X11 forwarding enabled:
```sh
$ ssh -Y myvmhost
```
Install `signal-desktop`, following the instructions at
https://signal.org/download. You can now run the `signal-desktop`
command from the VM's shell. As long as it spawns a GUI, the multitude
of warnings and errors it produces can ge ignored.
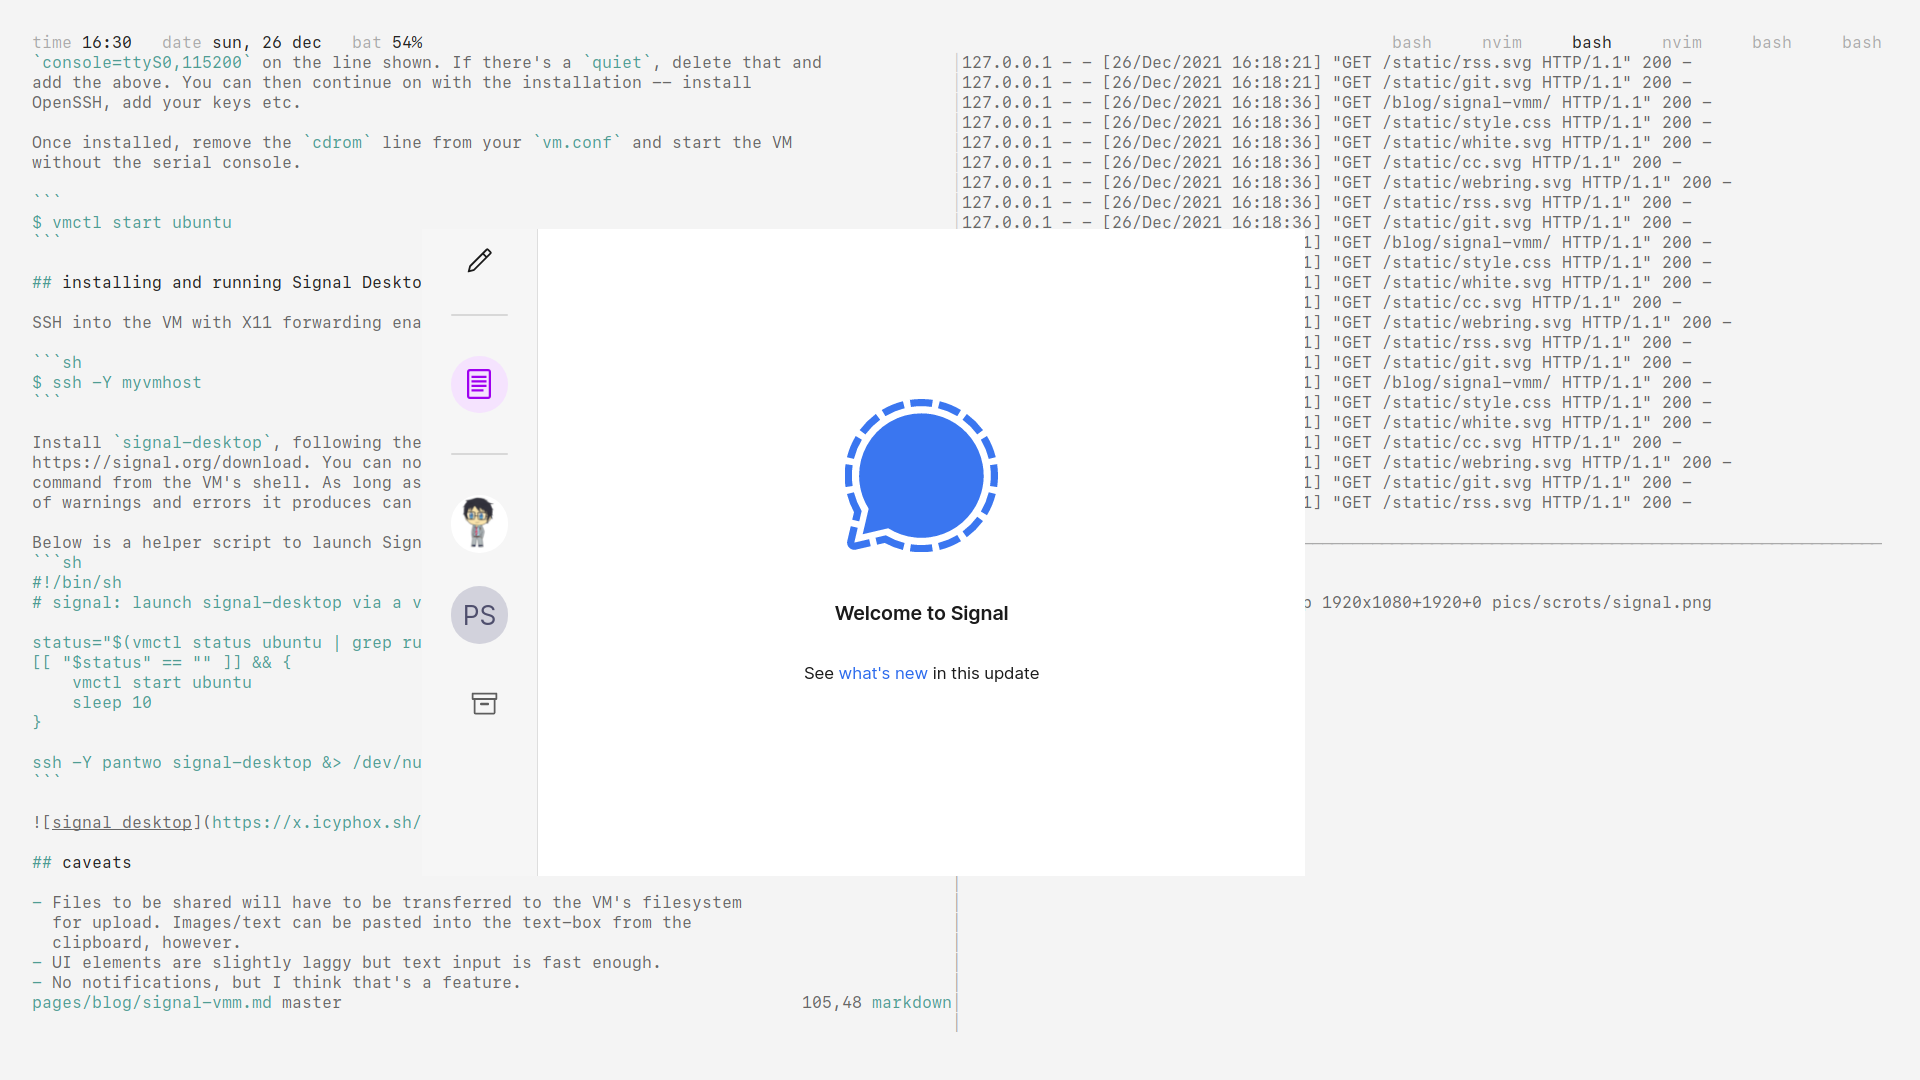
Below is a helper script to launch Signal from your host machine:
```sh
#!/bin/sh
# signal: launch signal-desktop via a vm (vmm(4))
status="$(vmctl status ubuntu | grep running)"
[[ "$status" == "" ]] && {
vmctl start ubuntu
sleep 10
}
ssh -Y pantwo signal-desktop &> /dev/null
```
## caveats
- Files to be shared will have to be transferred to the VM's filesystem
for upload. Images/text can be pasted into the text-box from the
clipboard, however.
- UI elements are slightly laggy but text input is fast enough.
- No notifications, but I think that's a feature.