pages/blog/signal-vmm.md (view raw)
1---
2template:
3slug: signal-vmm
4title: Signal Desktop on OpenBSD via vmm(4)
5subtitle: X11 forwarding to the rescue
6date: 2021-12-26
7---
8
9Early this year, I completely switched over to Signal and I'm fortunate enough
10to have everyone that I talk to switch over as well. I know I wrote what some
11might view as a [hit piece on Signal](/blog/signal), but I have immense respect
12for the project and will continue to use it until an actually viable
13alternative comes along.
14
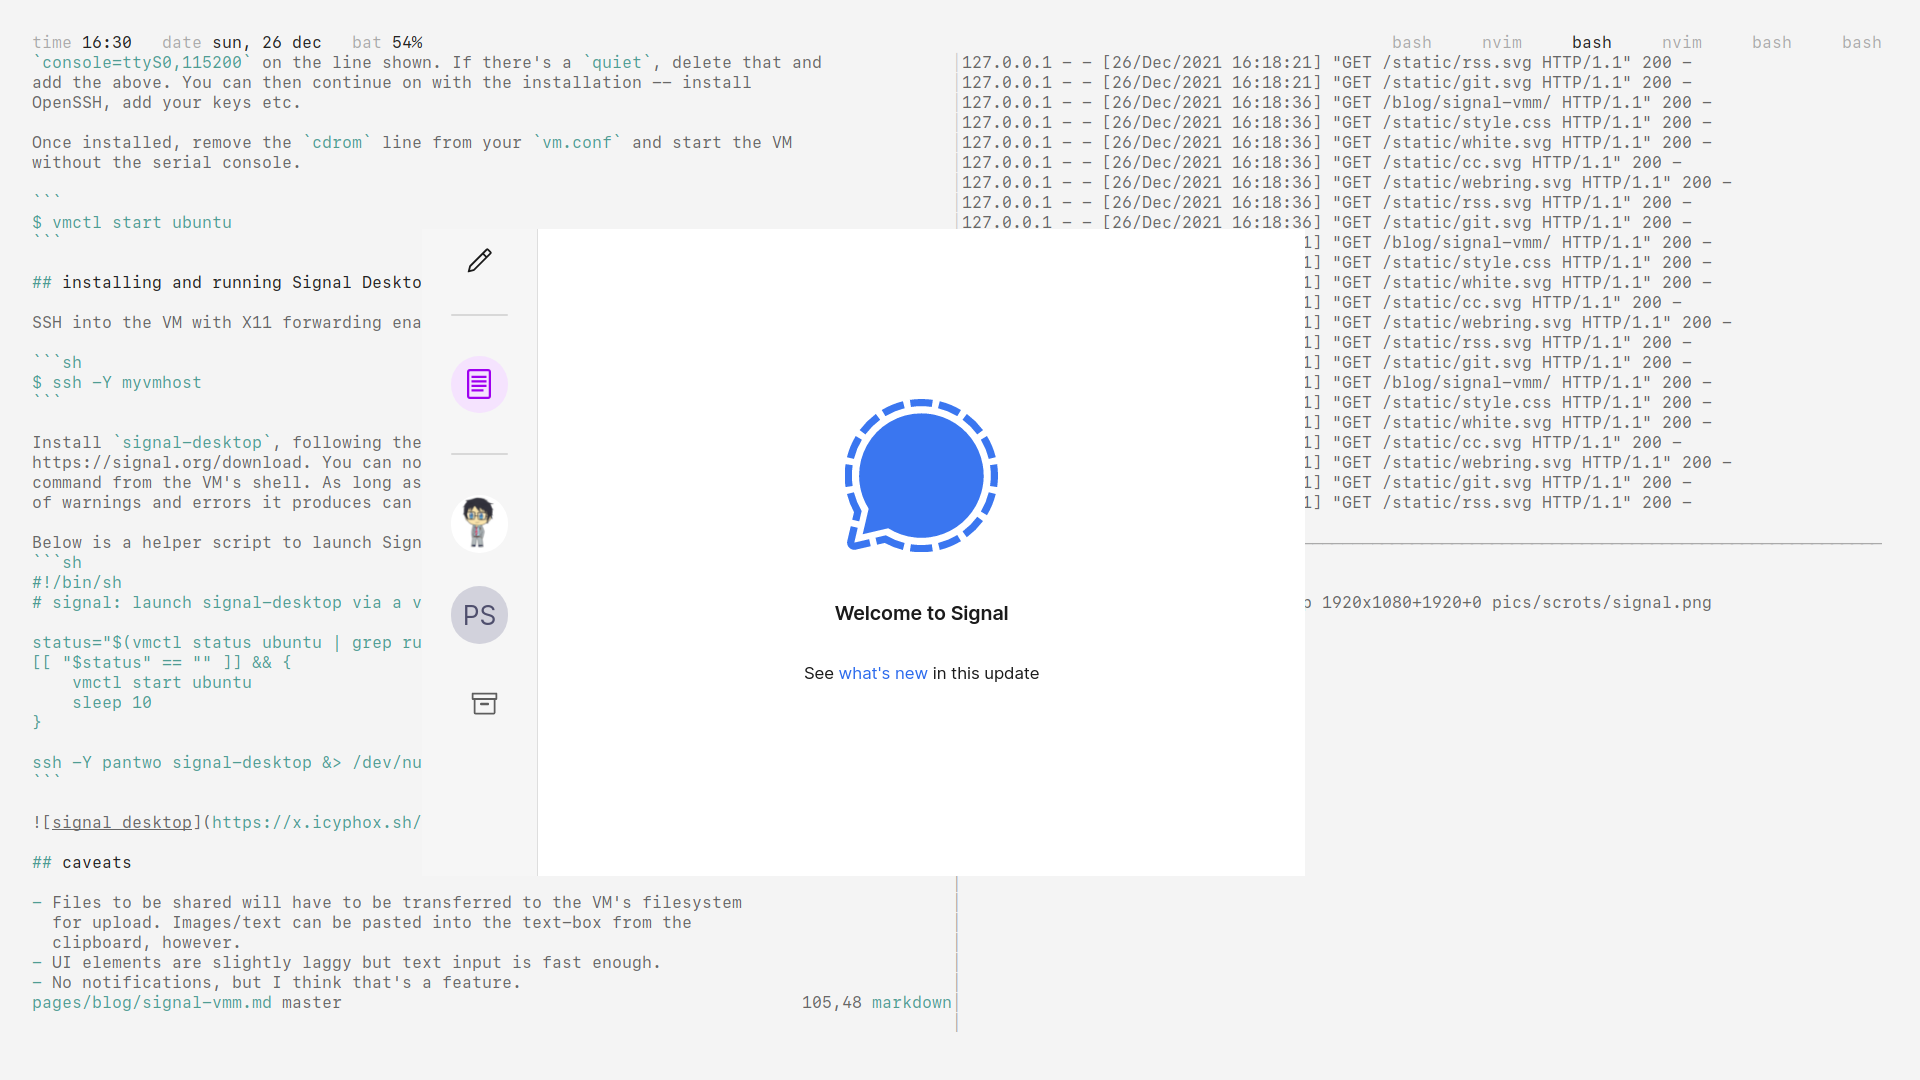
15Unfortunately, their desktop application isn't natively available for OpenBSD.
16A solution that's worked decently enough for me is to run it via X11 forwarding
17on a Ubuntu VM running on [vmm(4)](https://man.openbsd.org/vmm) -- OpenBSD's
18built-in hypervisor.
19
20## setting up the VM
21
22I recommend reading the [FAQ on
23Virtualization](https://www.openbsd.org/faq/faq16.html) first, but here's a
24quick overview. Note that I'll be skipping the networking bits so I highly
25recommend reading the FAQ to get your VM connected to the internet.
26
27Create a disk image for the VM to install onto.
28
29```sh
30$ vmctl create -s 30G ubuntu.img
31```
32
33I'm using the Ubuntu 18.04 LTS
34[mini.iso](archive.ubuntu.com/ubuntu/dists/bionic/main/installer-amd64/current/images/netboot/mini.iso).
35I ran into issues with the 20.04 LTS ISO, but I think you should be able to
36`dist-upgrade` from 18.04 without much trouble. Once you have the ISO
37downloaded somewhere, edit `/etc/vm.conf`:
38
39```conf
40vm "ubuntu" {
41 memory 2G
42 cdrom "/path/to/mini.iso"
43 disk "/path/to/ubuntu.img"
44 interfaces 1
45 local interface tap
46 owner icy # this is your user
47 disable
48}
49```
50
51Start and (optionally) enable [vmd(8)](https://man.openbsd.org/vmd).
52
53```sh
54$ doas rcctl -f start vmd
55$ doas rcctl enable vmd
56```
57
58We can now boot into the VM, and interface via the serial console. This can be
59done using [vmctl(8)](https://man.openbsd.org/vmctl).
60
61```sh
62$ vmctl start -c ubuntu # note -c for console
63```
64
65Hit Tab on the bootloader screen to edit the kernel parameters. We want to
66force it to use the serial console for installation. This is done by adding
67`console=ttyS0,115200` on the line shown. If there's a `quiet`, delete that and
68add the above. You can then continue on with the installation -- install
69OpenSSH, add your keys etc.
70
71Once installed, remove the `cdrom` line from your `vm.conf` and start the VM
72without the serial console.
73
74```
75$ vmctl start ubuntu
76```
77
78## installing and running Signal Desktop
79
80SSH into the VM with X11 forwarding enabled:
81
82```sh
83$ ssh -Y myvmhost
84```
85
86Install `signal-desktop`, following the instructions at
87https://signal.org/download. You can now run the `signal-desktop`
88command from the VM's shell. As long as it spawns a GUI, the multitude
89of warnings and errors it produces can ge ignored.
90
91Below is a helper script to launch Signal from your host machine:
92```sh
93#!/bin/sh
94# signal: launch signal-desktop via a vm (vmm(4))
95
96status="$(vmctl status ubuntu | grep running)"
97[[ "$status" == "" ]] && {
98 vmctl start ubuntu
99 sleep 10
100}
101
102ssh -Y pantwo signal-desktop &> /dev/null
103```
104
105
106
107## caveats
108
109- Files to be shared will have to be transferred to the VM's filesystem
110 for upload. Images/text can be pasted into the text-box from the
111 clipboard, however.
112- UI elements are slightly laggy but text input is fast enough.
113- No notifications, but I think that's a feature.